Document digitization turns paper records into digital files and usable data, and a project to clear out a paper archive runs in a fixed order: inventory what you have, decide what the paper should become, set retention rules, prep and scan, extract and index the data, check it, load it, and then deal with the originals. The step most teams skip is the second one, and it decides almost everything else, including cost.
This guide walks through each step for a utility, city department, engineering firm or facility owner with boxes, flat files and file rooms to clear. It also covers where artificial intelligence (AI) and computer vision change the math.
Scanning vs. digitizing
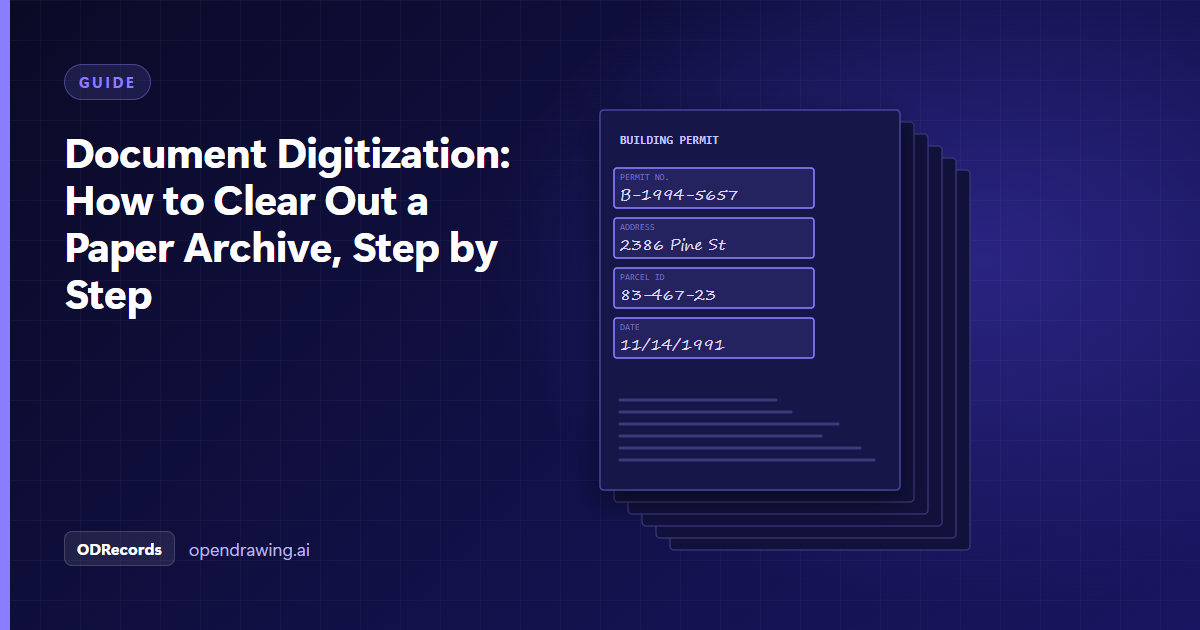
Scanning gives you a picture of each page. That alone frees up floor space, but a folder of 80,000 image files is not much easier to search than the boxes were. Digitizing goes further: it captures what is on the page, such as a permit number, an address, a pole number or the equipment on a drawing, so the record can be found, sorted and loaded into other software. Most projects need some of both, and the mix depends on step 2.
Step 1: Inventory the archive
Walk every room and count. Record boxes, linear feet of files, flat file drawers of drawings and maps, bound books, microfilm and microfiche. For each group, note the document types, date range, condition (torn, taped, faded, water damaged) and sheet sizes, since large drawings and maps need a different scanner than letter-size pages. A rough count by type is enough to start; a sample of 50 to 100 pages per type tells you more about the work than any estimate.
Step 2: Decide what the paper should become
This is the decision that shapes the whole project. "Digital" can mean very different things, and each one changes what you extract and how much it costs.
| Destination | What gets extracted | Typical example |
|---|---|---|
| Searchable digital archive | Images plus index fields (number, address, date, type) | Building permits searchable by address or parcel |
| Records in software you already use | Fields mapped to that system's format | Equipment records loaded into an enterprise resource planning (ERP) or asset management system |
| A GIS (geographic information system) map | Map features with locations and attributes | Paper utility maps turned into poles, lines and transformers on a map |
| Structured engineering data | Components, tags, ratings and connections from drawings | One-lines and schematics turned into equipment lists |
| Training data for your own AI model | Labeled pages, symbols or fields | A model that reads your own forms or drawing standards |
Write the destination down before any scanning starts. A project that only needs an image archive should not pay for detailed data extraction, and a project feeding an asset system should not discover after scanning that the scans were too low resolution to read the tags.
Step 3: Decide what to keep, scan or destroy
Not everything needs to be digitized. Check your retention schedule, any legal holds and which records are duplicates or past their retention period. Pulling expired and duplicate files before scanning is the cheapest saving in the whole project. Then decide what happens to the originals after scanning: returned, stored offsite or destroyed under a documented process. For public agencies this decision is often set by law, so confirm it with your records officer before boxes leave the building.
Step 4: Choose the fields and data to extract
List the fields people actually search by or the data the destination system needs. For permits that might be permit number, address, parcel ID, date and type. For engineering drawings it might be drawing number, revision, sheet, equipment tags and ratings. Keep the list short. Every field you add costs time on every page, so index what people will use, not everything that is printed.
Step 5: Prep the paper
Prep is slow, unglamorous work that decides scan quality.
- Remove staples, clips and bindings.
- Unfold and flatten pages; repair tears with archival tape where needed.
- Sort into batches by document type and keep the original order within each folder.
- Add separator sheets or barcodes between documents so the scanner knows where one ends.
- Pull out fragile, oversized and odd items for special handling.
Step 6: Scan
Match the scan settings to the documents. Typed pages read well at 300 dots per inch (dpi); faded copies, handwriting and fine drawing text do better at 400 dpi in grayscale; color matters for redlined drawings and color-coded maps. Large drawings need a large format scanner. Keep a documented chain of custody for every box, especially for public records, and decide whether scanning happens on site or at a secure facility.
Step 7: Extract and index the data with AI
This is where most of the cost in a traditional project sits. Someone has to read every page and type the fields into a spreadsheet or system, and on a large archive that is months of data entry.
AI and computer vision change that step. Optical character recognition (OCR) and vision models trained on samples of your own documents read the fields, handwriting, stamps, symbols and tags on each page, and hand people only the results the model is unsure about. On engineering drawings, our internal benchmark shows an 83% reduction in labeling time compared with manual methods. The more pages and the more fields per page, the more that saving matters, which is why AI-based extraction can make a project that was too expensive to justify affordable.
The models are only as good as their fit to your records. Generic OCR struggles with hand-lettered callouts, typewritten forms and stamps; models trained on your own samples handle them far better, as described in our post on text recognition for hand-lettered drawings.
Step 8: Check the data and load it
Run quality control (QC) before anything goes live: sample pages from every batch, compare the extracted fields to the page and fix patterns of errors, not just single records. Then load the data into its destination with the permissions it needs, whether that is a searchable archive, an asset system, a GIS map or a training dataset. For engineering archives, our guide to engineering diagram digitization covers how drawing data gets structured for asset and digital twin systems.
Step 9: Return or destroy the originals and clear the room
Once the data is checked and accepted, follow the decision from step 3. Return what you keep, send records with long retention to offsite storage, and destroy the rest with a certificate of destruction. This is the step that actually empties the file room.
Step 10: Keep it digital
Set a rule for new records so the archive does not grow back: scan on arrival, or capture new documents digitally from the start, using the same index fields.
What drives the cost of a digitization project
- Page volume and sheet sizes
- Paper condition and how much prep it needs
- How many document types are mixed together
- How many fields you extract per page
- Where the data has to go (archive, existing software, GIS map or AI training data)
- How much quality checking the records require
How we run digitization projects
ODRecords covers the full project: we coordinate scanning through a partner with documented chain of custody, train the text recognition on samples of your own documents, index the fields you search by, run quality control and set up a cloud or on-premises archive with permissions you control. We don't sell one-size-fits-all software; every project starts by learning what you need from the paper and building the extraction around it. Utilities whose archives include paper system maps use ODMaps to turn them into a GIS map, as we are doing with the City of Elba, Alabama, described in our DOE prize announcement. Teams that also count components on new bid drawings use ODTakeoff.
If you have a paper archive to clear, talk to an expert and we will scope your digitization project with you: what you have, what it should become and what it will take.